
1. Location dropdown: Turn “on” to allow participants to select different areas of the map.
2. Include legend: Turn “on” to add a legend, double click the "legend" button to rename. This button is located on the bottom left of the Screen and will show as a pop-up where your legend can be added.
3. Latitude: Insert values for Latitude. This is the latitude of the mid-point of your Google Map.
4. Longitude: Insert values for Longitude. This is the longitude of the mid-point of your Google Map.
5. Zoom: Select your preferred zoom level for your specified area. Use different zoom levels to define the specific area.
* As you complete filling out the values (Latitude and Longitude) and setting the zoom level, a green checkmark displays indicating the location is saved. Please do not click on the "Save" button below. Refer to the Saving Locations article.
6. Use current position: Navigate and zoom to the location you want to save. Click on the "Save" button to use the map's current location. You will notice the values for Latitude, Longitude, and Zoom will be automatically populated with the current map position.
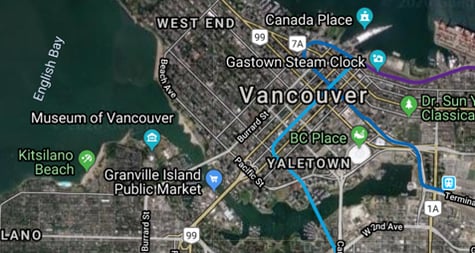
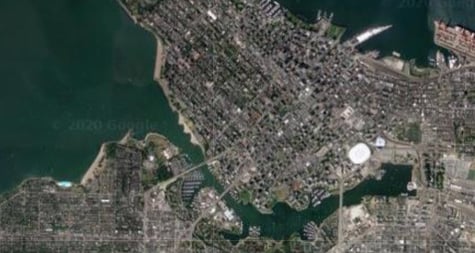
7. Map Type: The Map Marker Screen’s map is a Google Map. The map types that are available for viewing on the Map Marker Screen are the same as the view on Google Maps:
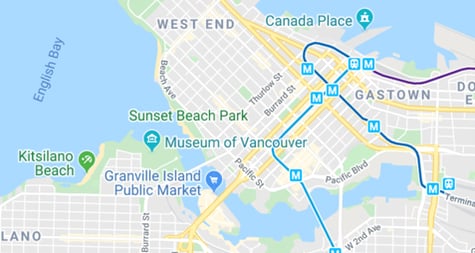
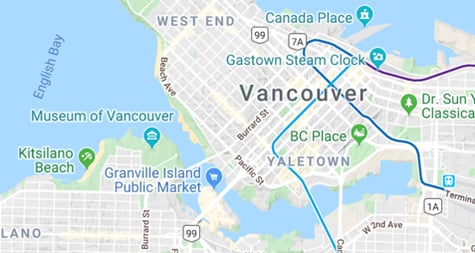
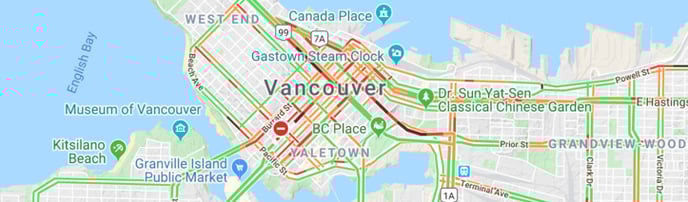
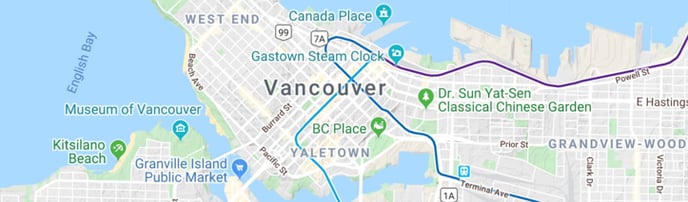
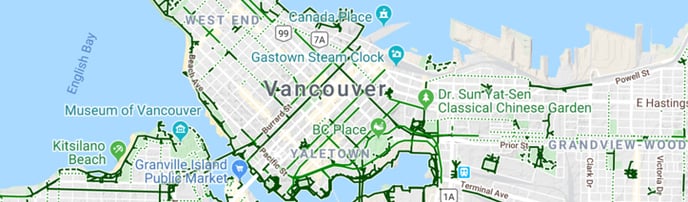
8. Optional Layer: Select the information you want to see on your map, like Traffic, Transit and Bicycle:
9. Display KMZ: Turn “on” to display the KMZ layer. When you turn "on", the Upload KMZ option will appear below.
10. Upload KMZ: Please click on the "Upload" to choose the KMZ file from your computer.