
1. Allow comments: Turn “on” (click to turn the switch to green) to encourage participants to write a comment on the current project they are on.
2. Limit Type: To limit how many projects can be selected by the participant on the Project Selection Screen, you can enter a value indicating how many projects can be selected.
2A. Budget: Add a cost to limit how many projects a participant can choose. This is helpful in educating participants about what limitations you have regarding your budgets.
3A. Project Budget: Enter the total budget that you would like to allocate for the participant. Keep in mind that the value entered here should allow the participant to be able to select a few of the projects and should not be lower than the cost of 1 project.
2B. Selections: Let participants select projects, add a limit on how many projects a participant can choose by setting the project limit.
3B. Project Limit: Set a maximum number of project that a participant can select
4. Show Image: Include images to each project to make your Survey look visually appealing.
5. Show Cost: Show participants the cost of each project.
6. Show description: Add a description to your project, Double click on the text to edit description.
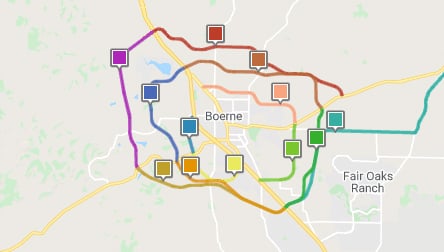
7. Longitude: This is where you can add the longitude of the specific project marker
8. Latitude: This is where you can add the latitude of the specific project marker
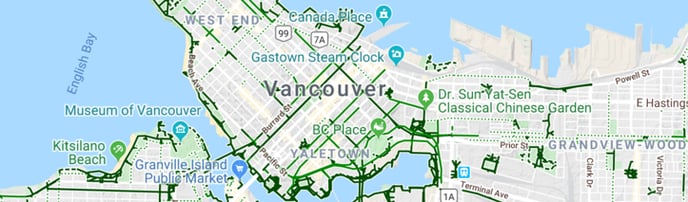
9. Zoom: Select your preferred zoom type for your specified area. If you have a large study area and want to let visitors zoom into subareas, you can use the zoom drop-down menu.
10. Use current position: Click on the "Save" button to use the current position (Latitude and Longitude) as well as the Zoom level.
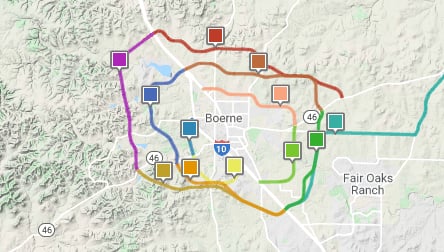
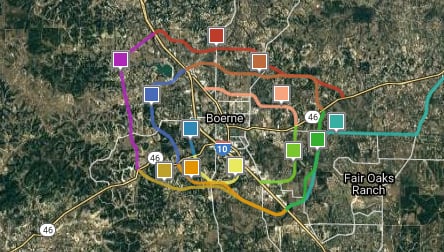
11. Map Type: The Map Marker Screen’s map is taken from Google Maps. The map types that are available for viewing on the Map Marker Screen are the same as the view on Google Maps. Here are the four Map types that can be selected:

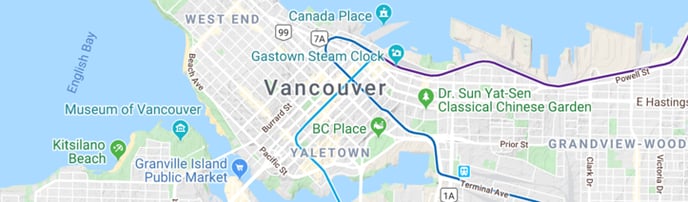
12. Optional Layer: Select the information you want to see on your map, like Traffic, Transit and Bicycle:

13. Display KMZ: Turn “on” to display the KMZ layer. When you turn "on", the Upload KMZ option will appear below.
14. Upload KMZ: Please click on the "Upload" to choose the KMZ file from your computer.